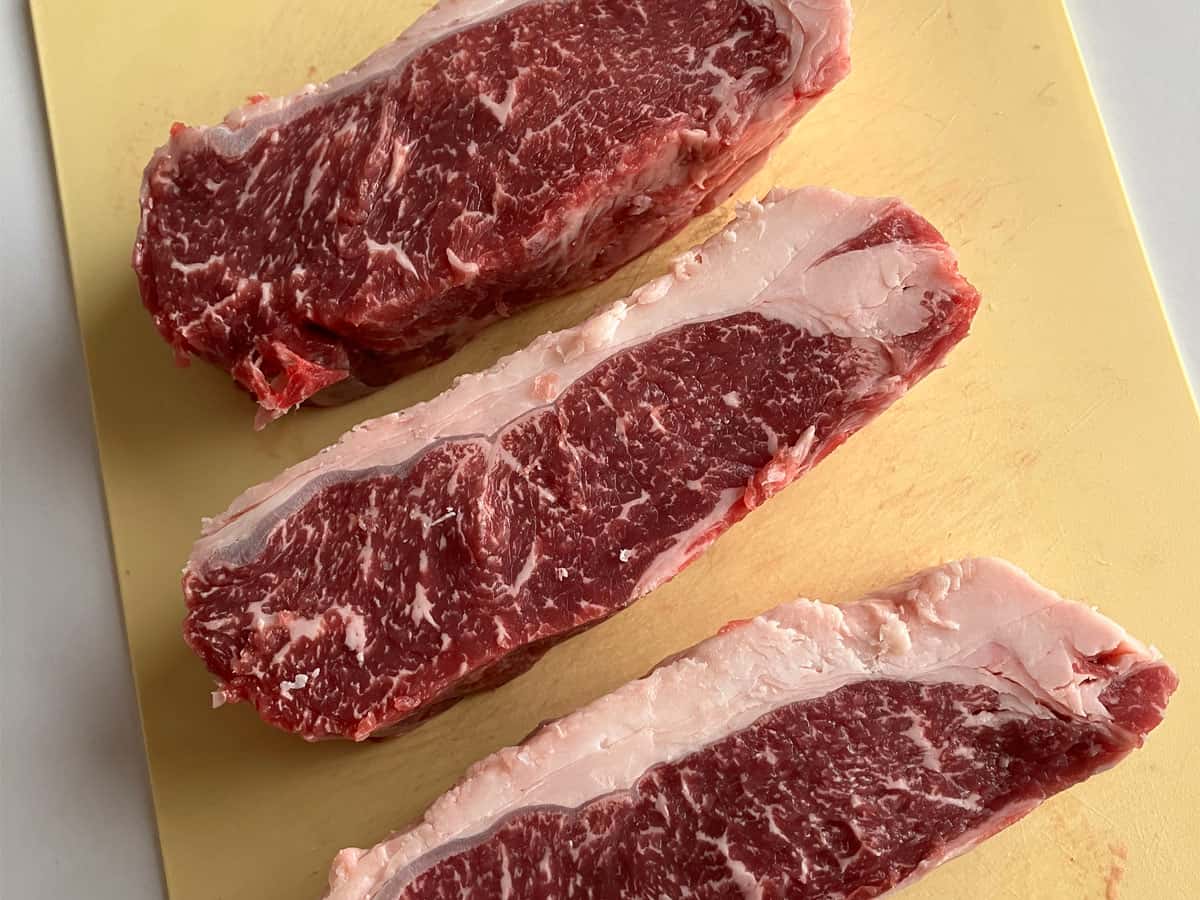

There’s no single best way to cook a New York strip steak. The right method depends mainly on the steak’s thickness, the crust you want, how evenly you want it cooked from edge to edge, and the equipment you have.
In this guide, I’ll break down the six most common ways to cook New York strip steak and explain when each method works best, based on my experience.
New York Strip Steak Cooking Methods at a Glance
| Method | Best For | Best Thickness | Cook Time | Difficulty |
| 1. Direct pan-searing | Quick cooking and a deep, flavorful crust | 0.5-1.5 in / 1.3-3.8 cm | About 4-6 min for a 1-in / 2.5-cm strip steak, medium-rare | Medium |
| 2. Direct grilling | Smoky flavor and outdoor cooking | 0.5-1.5 in / 1.3-3.8 cm | About 6-8 min for a 1-in / 2.5-cm strip steak, medium-rare | Medium |
| 3. Reverse searing | Thick steaks and even doneness | 1.5-2+ in / 3.8-5+ cm | About 1 hour total for a 2-in / 5-cm strip steak, medium-rare | Easy |
| 4. Forward searing | Cooking thick steaks faster | 1.5-2+ in / 3.8-5+ cm | About 30 min for a 2-in / 5-cm strip steak, medium-rare | Easy |
| 5. Sous vide | Precise doneness and consistent results | 1.5-2+ in / 3.8-5+ cm | About 4 hours total for a 2-in / 5-cm strip steak, medium-rare | Easy |
| 6. Oven broiling | Fast, oven-only cooking | 1-2 in / 2.5-5 cm | About 8-12 min, depending on thickness and target doneness | High |
Which Method Should You Choose?
- Thin to standard strip steak (about 1/2 to 1 1/2 inches / 1.3 to 3.8 cm): With a steak this thin, you have very little time to build a crust before the center overcooks. To get a nicely browned exterior while keeping the inside pink, you must cook it quickly over very high direct heat. In this case, either sear it in a hot pan or grill it directly over high heat.
- Thick strip steak (over 1.5 inches / 3.8 cm): To cook a steak this thick evenly from edge to edge, use a two-stage method that combines low- and high-heat cooking, such as reverse searing, forward searing, or sous vide.
- Dry-aged strip steak: Any method can work. Just choose one based on the steak’s thickness. Dry-aged steaks cook a little faster, so keep a close eye on the internal temperature. Keep the seasoning simple to let the rich, nutty flavor shine.
- Bone-in strip steak: The main challenge with cooking a bone-in strip is the bone itself. It can keep part of the steak from making full contact with a flat cooking surface such as a skillet, making it harder to develop an even crust. If getting the best possible crust is your priority, grilling is usually the better choice. Otherwise, bone-in strip steak works well with most cooking methods.
6 Ways to Cook New York Strip Steak
1. Direct Pan-Searing
(Best for: Quick cooking and a deep, flavorful crust)

About This Method: Pan-searing is a high-heat method for cooking steak entirely in a heavy-bottomed skillet. You cook the steak in a well-preheated pan to quickly build a deep, golden-brown crust on the outside while bringing the center to your target doneness.
Pros: Super fast cook time, builds a deep crust, works anytime regardless of the weather, and lets you make quick, flavorful pan sauces right in the skillet.
Cons: Easy to overcook due to high carryover heat, leaves a thicker gray band under the crust, creates heavy smoke that sets off alarms, and causes messy oil splatter all over your stove and counters.
Recommended Thickness: 0.5 to 1.5 inches / 1.3 to 3.8 cm
Cook Time: About 4-6 minutes for a 1-inch / 2.5 cm strip steak cooked to medium-rare
My Take: It’s my go-to method for New York strip steaks about 1 inch (2.5 cm) thick, especially when I’m cooking indoors. I don’t recommend it for steaks thicker than 1 1/2 inches (3.8 cm), since thicker cuts tend to cook less evenly and can develop a wider gray band under the crust. Overall, pan-searing takes some practice, but once you learn to control the heat and timing, the results are hard to beat.
2. Direct Grilling
(Best for: Smoky flavor and outdoor cooking)

About This Method: Classic grilling is similar to pan-searing in that it uses high heat to cook the steak quickly. Instead of a skillet, the steak cooks directly on hot grill grates, whether over charcoal, gas burners, or a pellet grill. The goal is to build a well-browned, lightly charred crust on the outside while bringing the center to your target doneness.
Pros: Fast cook time, infuses smoky flavor, builds a deep charred crust, keeps all the smoke and messy cleanup out of the house while making cooking a fun outdoor experience.
Cons: High risk of flare-ups on marbled cuts, less precise heat control, thicker gray band under the crust, and requires an outdoor setup that leaves you at the mercy of the weather.
Recommended Thickness: 0.5 to 1.5 inches / 1.3 to 3.8 cm
Cook Time: About 6-8 minutes for a 1-inch / 2.5 cm strip steak cooked to medium-rare
My Take: Like pan-searing, classic grilling is one of my favorite ways to cook a New York strip that’s about 1 inch (2.5 cm) thick. I find it works especially well with moderately marbled steaks, such as Choice-grade beef, which gives you plenty of flavor without causing excessive flare-ups. Beyond the results themselves, I also love the experience of cooking outdoors over an open flame. Grilling takes a little more practice than pan-searing, especially for beginners, but once you get comfortable managing hot spots and reacting quickly to flare-ups, it becomes an excellent way to cook a strip steak.
3. Reverse Searing
(Best for: Thick steaks and even doneness)
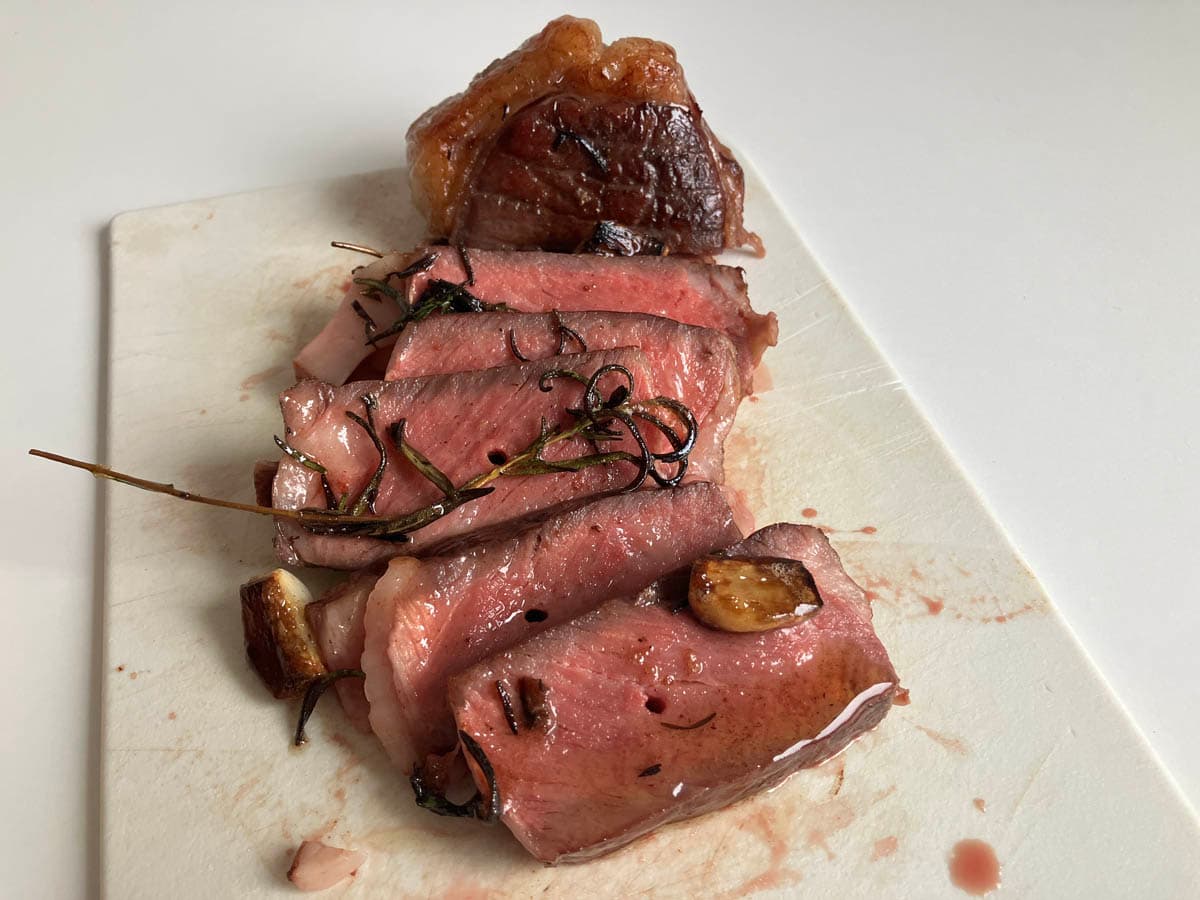
About This Method: Reverse searing is a two-step technique where you cook the steak gently over low heat until it is close to your target doneness, then finish quickly over high heat to build a deep crust. The oven-to-skillet setup is most common, but the same method works just as well on a grill or smoker.
Pros: Fairly simple technique, edge-to-edge doneness with almost no gray band, a decent crust, plus mostly hands-off time in the oven.
Cons: Longer total cook time, and it’s easy to overshoot your target temperature if you sear it for too long at the end.
Recommended Thickness: 1.5 to 2+ inches / 3.8 to 5+ cm
Cook Time: About 1 hour total for a 2-inch / 5 cm strip steak cooked to medium-rare
My Take: Reverse searing is a solid technique for New York strips that are about 1.5 to 2 inches (3.8 to 5 cm) thick, especially well-marbled cuts. It’s relatively simple as long as you follow the instructions and keep the final sear short enough that you don’t overcook the steak. The main downside is that it takes quite a bit of time, especially with cuts over 2 inches (5 cm) thick. For steaks around 1 inch (2.5 cm) thick, it’s much easier and more practical to cook them entirely over direct high heat.
Personally, if I’m going to spend an hour cooking a strip steak, I’d rather reverse-sear it on the grill and get the added smoky flavor. I know reverse searing is one of the most popular techniques these days, but when cooking a steak this thick, I personally prefer either the much faster forward-searing method (accepting a slightly thicker gray band under the crust in exchange for a deeper, more developed crust) or sous vide, which takes time but is almost completely hands-off and extremely easy.
4. Forward Searing
(Best for: Cooking thick steaks faster)
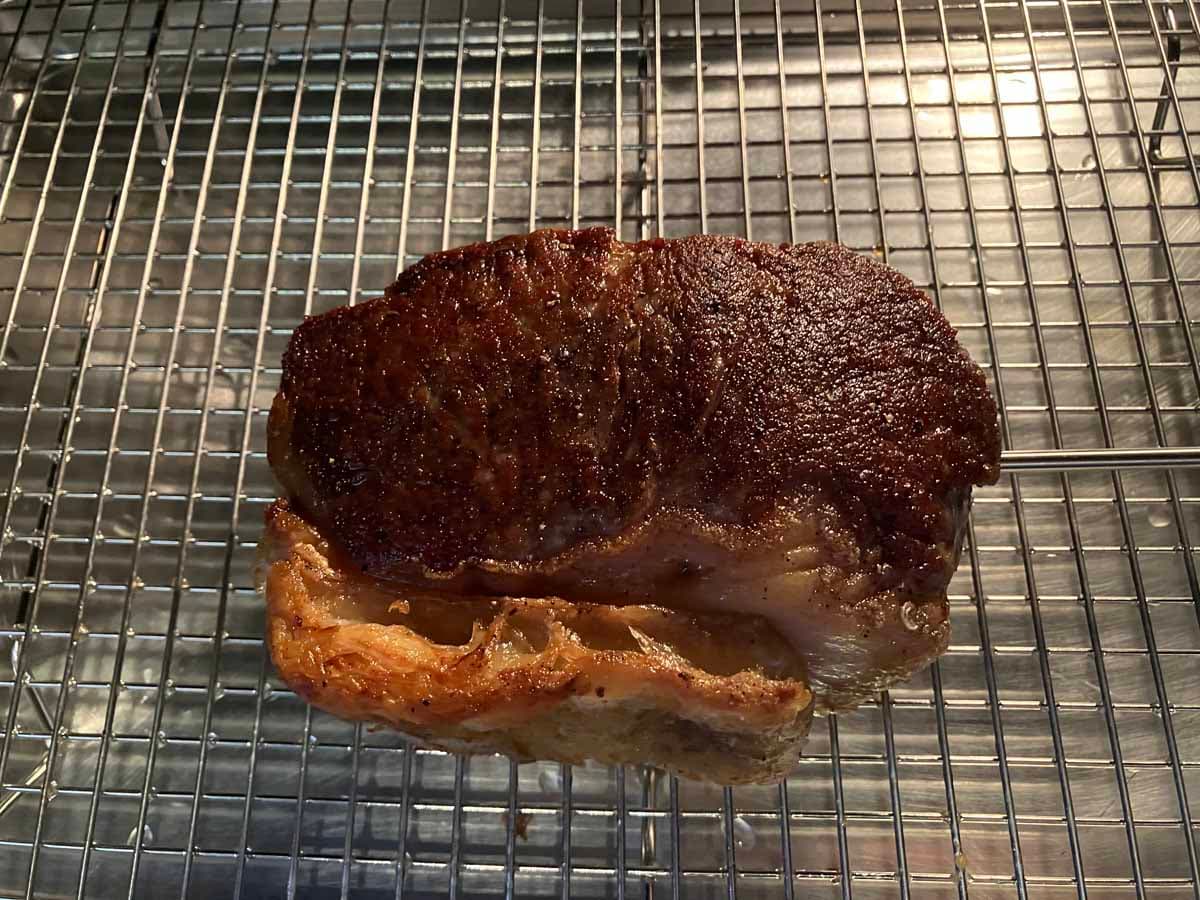
About This Method: A forward sear is a two-step technique where you sear the steak first over high heat to build a deep crust, then finish it more gently at a lower temperature until it reaches your target doneness. A skillet and oven is the classic setup, but you can use the same approach on a grill or smoker by starting over direct heat and finishing over indirect heat.
Pros: Simple technique, builds a deep crust, relatively even doneness throughout, and easy to hit target doneness.
Cons: Slightly thicker gray band, not for thin cuts, and tricky on a grill where you can’t quickly drop the temp to finish the steak low and slow.
Recommended Thickness: 1.5 to 2+ inches / 3.8 to 5+ cm
Cook Time: About 30 minutes for a 2-inch / 5 cm strip steak cooked to medium-rare
My Take: Forward searing is the technique I use most often for strip steaks thicker than about 1 1/2 inches (3.8 cm). It’s a seriously underrated method, mostly because people tend to mess up the finish. Done right, the steak cooks relatively evenly from edge to edge, develops a deep, dark crust, and has only a slightly thicker gray band beneath the surface. To me, it’s the perfect middle ground between traditional pan-searing and reverse searing.
The trick is a quick 4- to 5-minute sear upfront, followed by finishing over low heat at about 225°F (110°C). Most cooks ruin this technique by keeping the temperature way too high (300-400°F / 150-205°C) to finish. Drop the finishing temperature to around 225°F (110°C), and you’ll get a much more evenly cooked steak, far less carryover cooking, and much better control over the final doneness. All while keeping that deep crust and finishing in roughly half the time of a reverse sear.
5. Sous Vide
(Best for: Precise doneness and consistent results)
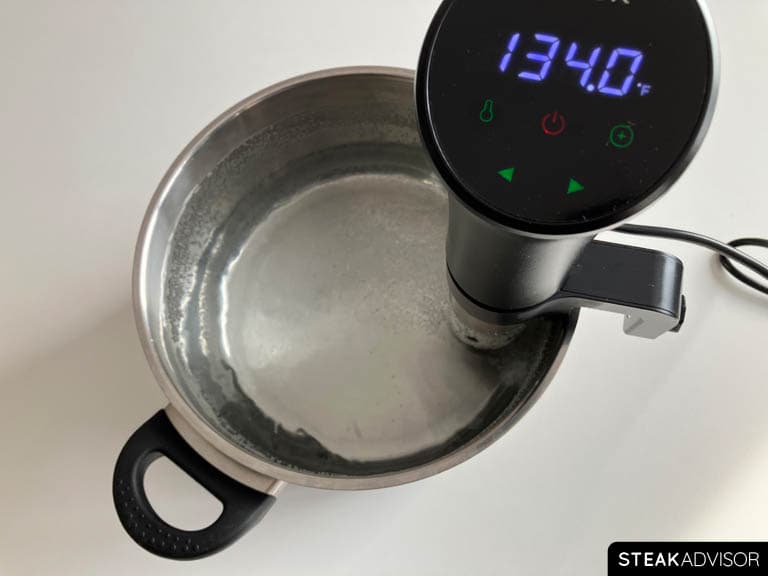
About This Method: Sous vide is a method of cooking steak in a water bath held at a precise, controlled temperature. It’s essentially a two-step process. First, you seal the steak in a bag and cook it in the water bath at your target temperature using a sous vide circulator. Once the steak reaches the exact doneness you want throughout, you finish it with a quick, high-heat sear to build a decent crust.
Pros: The most foolproof method, wall-to-wall precision doneness, zero guesswork on internal temp, plus mostly hands-off cooking.
Cons: Requires special equipment, long overall cook time, and it’s easy to overshoot your target doneness during the final sear.
Recommended Thickness: 1.5 to 2+ inches / 3.8 to 5+ cm
Cook Time: About 4 hours total for a 2-inch / 5 cm strip steak cooked to medium-rare
My Take: Sous vide is the method I prefer when I want perfectly even doneness from edge to edge. It works especially well for a well-marbled New York strip. One of the things I like most about cooking sous vide is the flexibility. I can put a few steaks in the water bath, focus on preparing the sides, and then finish the steaks right before serving.
It’s an extremely easy method, but the final sear still matters. Just make sure to cool the steak down a bit before the final sear and keep that sear short. Otherwise, you can easily overcook the steak.
6. Oven Broiling
(Best for: Fast, oven-only cooking)
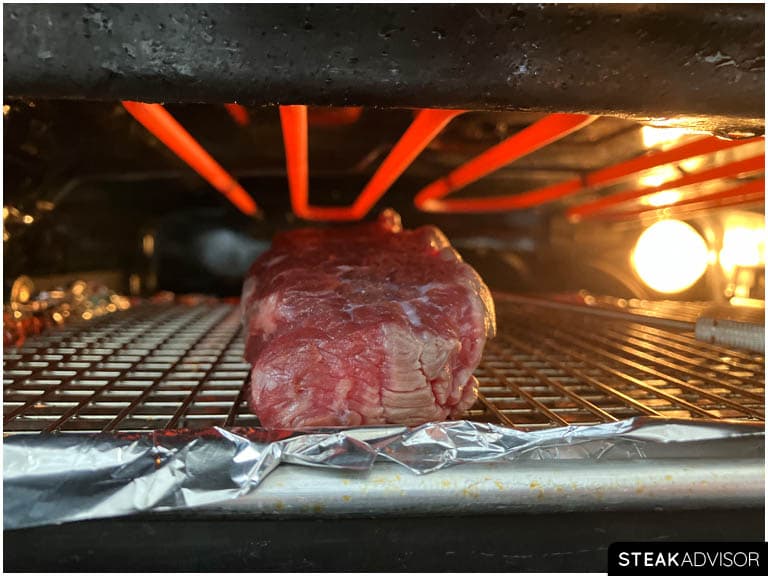
About This Method: Oven broiling cooks the steak entirely under the oven’s top heating element using intense, direct heat from above. It’s a fast, straightforward method that requires no stovetop searing.
Pros: Fast cook time, no separate stovetop or grill sear needed.
Cons: Hot spots and uneven heating, very easy to overcook due to high carryover cooking, thick gray band, high risk of flare-ups, lots of smoke, and less predictable results since broilers vary so much from oven to oven.
Recommended Thickness: 1 to 2 inches / 2.5 to 5 cm
Cook Time: About 8 to 12 minutes, depending on thickness and target doneness
My Take: This is one of the worst ways to cook a New York strip (or really any steak) if you want a nice pink center and a good crust on the outside. I’m including it mainly as an option for anyone who only has an oven with a broiler and wants to cook steak with what they have. I definitely don’t recommend it for a good-quality steak, especially a well-marbled one. Be prepared for plenty of flare-ups from the rendering fat as well.
Don’t get me wrong, you can get decent results under a broiler, but it takes a fair amount of trial and error to figure out how your oven works, how close the steak should be to the heating element, and how quickly it cooks. Overall, I’d avoid it in most cases unless you already know exactly what to expect from your broiler.
